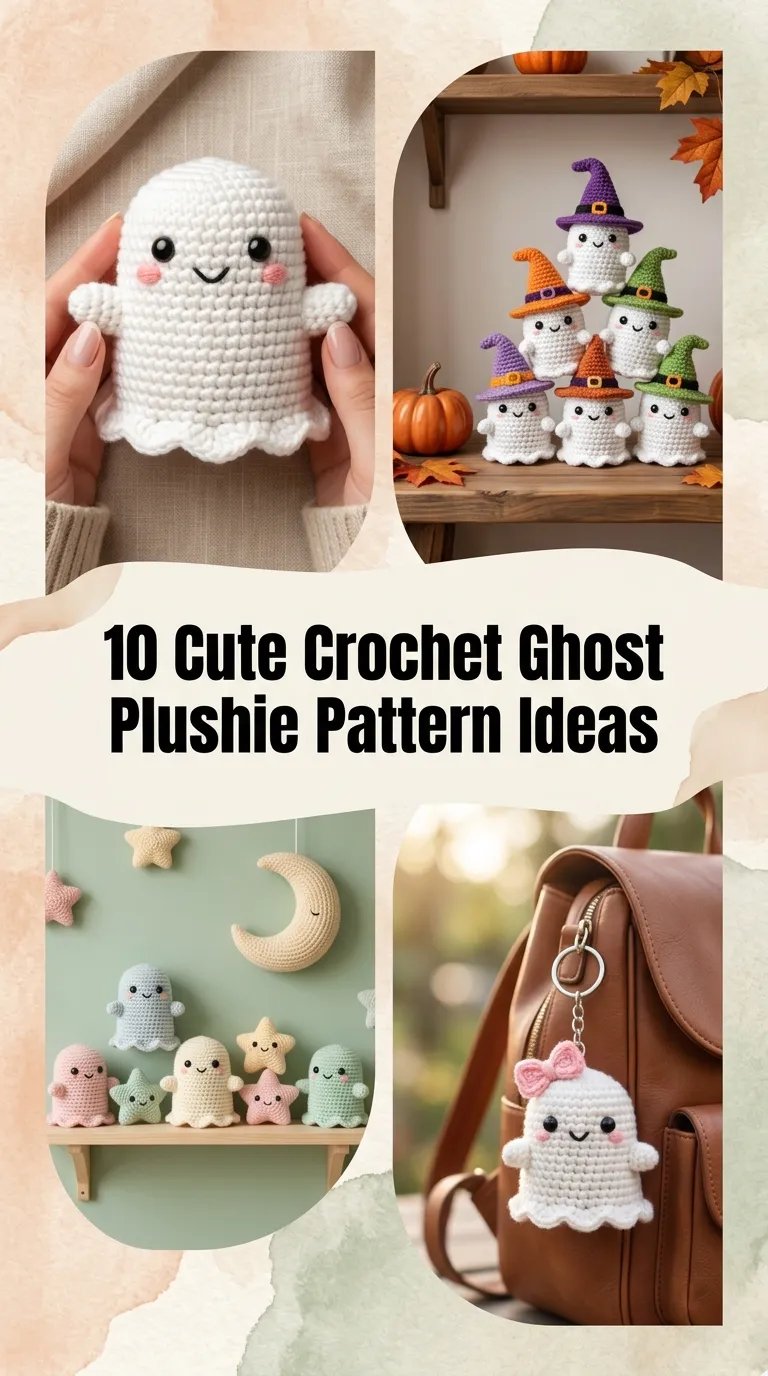
Crochet ghost plushies are the ultimate beginner-friendly project. They require minimal yarn, work up in under an hour, and use simple shapes that allow you to master the basics of amigurumi without getting overwhelmed. Whether you want a spooky shelf sitter, a cozy desk buddy, or a festive handmade gift, these charming little spirits are quick to complete and endlessly customizable.
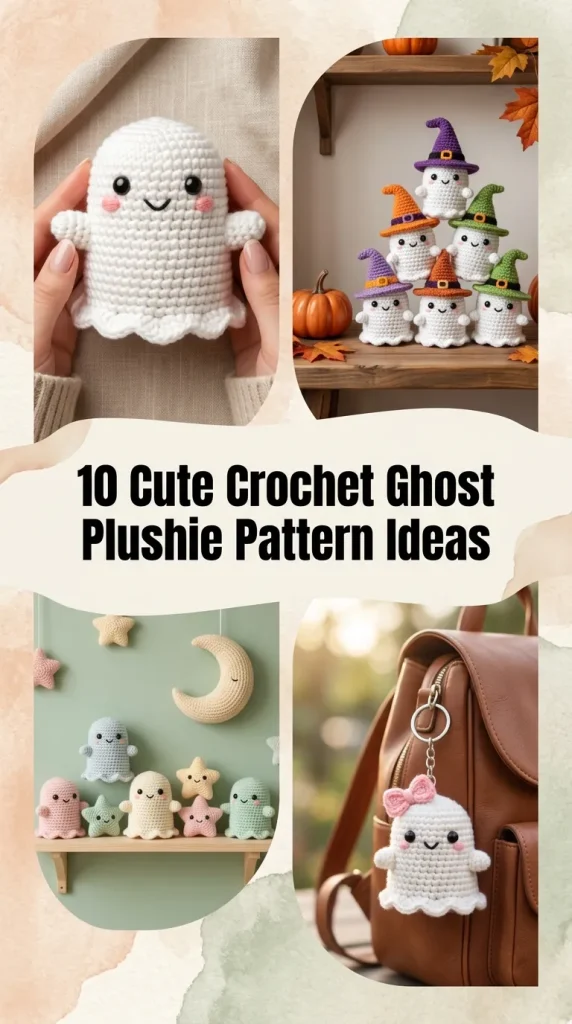
1. The Classic Ruffle-Skirt Ghost
This traditional silhouette starts with a simple dome worked in continuous rounds using single crochet stitches. As you reach the base, create a wavy, floating hemline by working three double crochets into each front loop around. It creates a classic floating sheet look that sits flat on any flat surface.

2. The Chunky Chenille Palm Pal
Using super bulky chenille or blanket yarn and a 6 mm hook, this minimalist ghost works up in roughly 15 minutes. Its oversized, squishy texture makes it a delightful fidget plushie. Keep the face simple with two large safety eyes placed low on the body for maximum cuteness.

3. The Tiny Witch Hat Ghost
Add a dash of magic by topping a basic ghost with a miniature witch hat. Crochet a tiny cone in black or deep plum yarn, add a single-round flat brim, and stitch a small orange or purple ribbon band around the base before sewing it slightly tilted onto the ghost’s head.

4. The Spooky-Sweet Flower Crown Spirit
Soft pastel tones and cottagecore aesthetics transform the spooky ghost into a gentle garden friend. Crochet three to four tiny daisy or rose appliques in blush pink, cream, and butter yellow, then stitch them in a delicate arc across the ghost’s forehead.

5. The Pumpkin-Holding Ghost
Give your ghost a sweet interactive accessory. Craft a miniature pumpkin using orange yarn—working a small ribbed sphere tied tightly through the center with thread to create distinct pumpkin ridges—and attach it snugly between two tiny crocheted ghost arms.

6. The Kawaii Blush & Bobble Arm Ghost
Kawaii proportions rely on wide-set eyes and rosy cheeks. Use pink yarn or actual makeup blush dabbed on with a cotton swab just beneath the eyes. Add two tiny bobble stitches or simple oval arms placed right beneath the cheeks for an endearing, wide-eyed look.
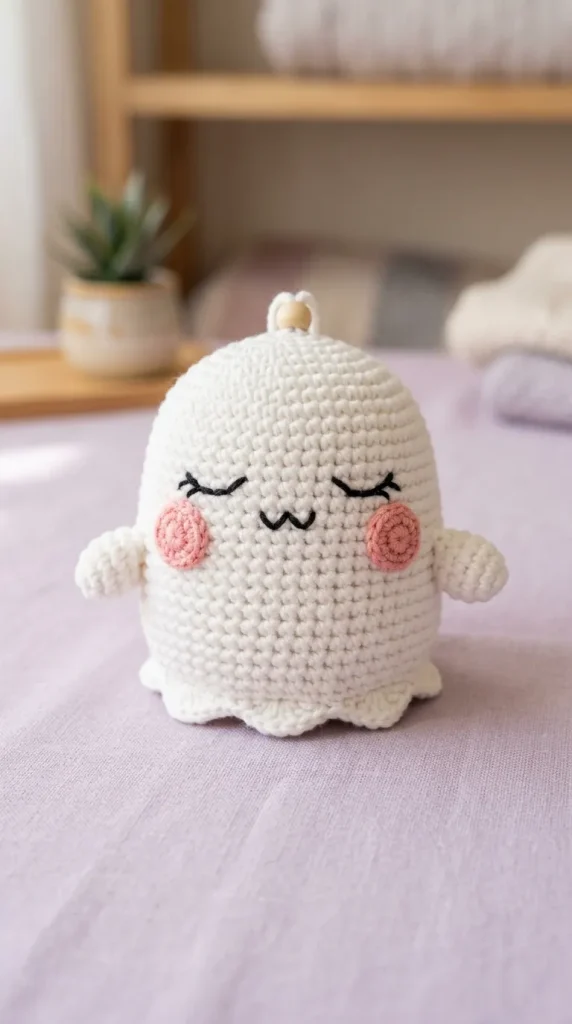
7. The Sleepy Nightcap Ghost
Turn your plushie into a bedtime companion with a long, drooping nightcap. Work a tapered cone in striped pastel yarn, sew a small white pom-pom to the pointed tip, and embroider two closed, curved sleeping eyes onto the ghost using fine black embroidery thread.

8. The Ghostly Coffee Mug Buddy
Designed to sit neatly inside a ceramic mug or perch on a coaster, this ghost features a flat, weighted base filled with poly pellets. Add a miniature brown crocheted circle inside the rim to mimic a steaming cup of hot cocoa with a ghost floating happily inside.

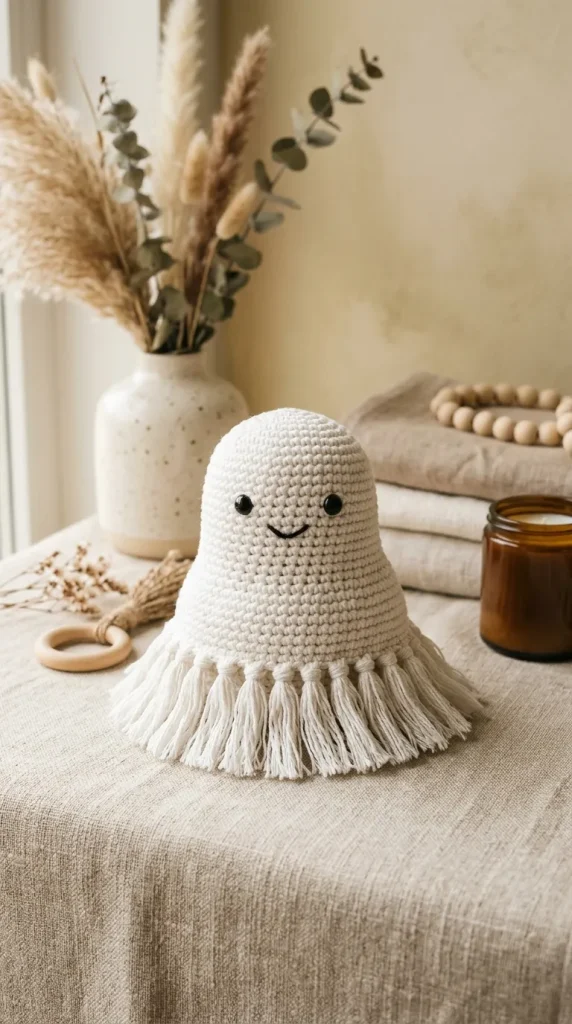
9. The Boho Tassel Hem Ghost
Instead of crocheting a ruffled bottom edge, leave the base open and attach small lengths of yarn using a fringe knotting technique. Brush out the yarn strands lightly with a fine-tooth comb to create a soft, macrame-inspired tassel bottom.
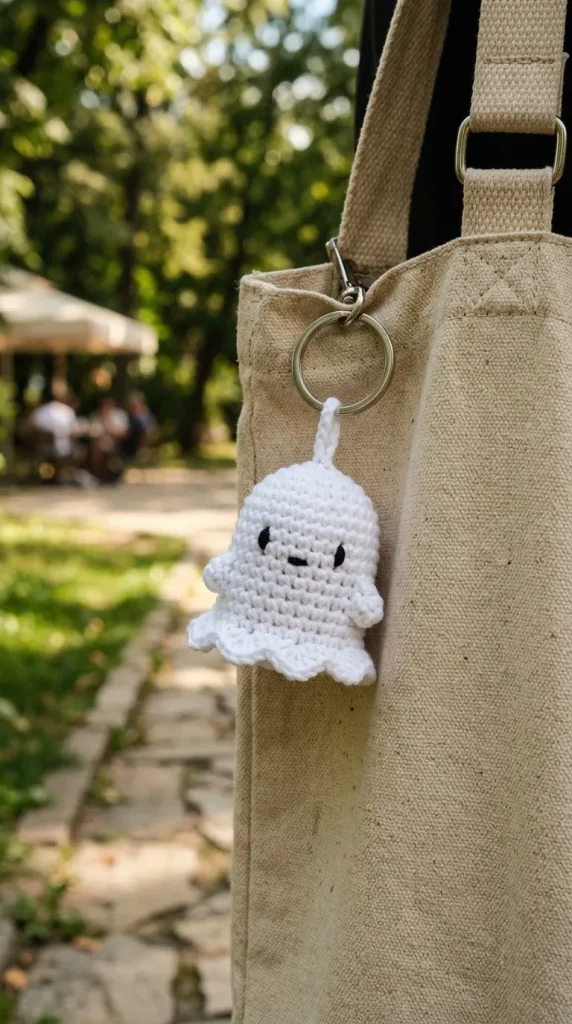
10. The Pocket-Sized Ghost Keychain
Scale down the classic pattern by using fine sport-weight yarn and a 2.5 mm hook. Once stuffed and closed, secure a sturdy metal jump ring and split-ring keychain through the top stitches. It makes a wonderful spooky bag charm or quick seasonal craft fair item.
Key Tips for Perfect Amigurumi Ghosts
- Maintain Tight Tension: Consistent, snug stitches prevent the white polyester stuffing from peeking through the gaps.
- Use the Invisible Decrease: When shaping the dome or tapering the body, work your decreases through the front loops only ($sc2tog$) to maintain a smooth, seamless exterior.
- Stuff in Small Layers: Add small tufts of fiberfill gradually rather than one large ball to prevent lumpy or distorted shaping.
- Experiment with Textures: Velvet, boucle, and brushed alpaca yarns create wildly different looks using the exact same basic pattern.